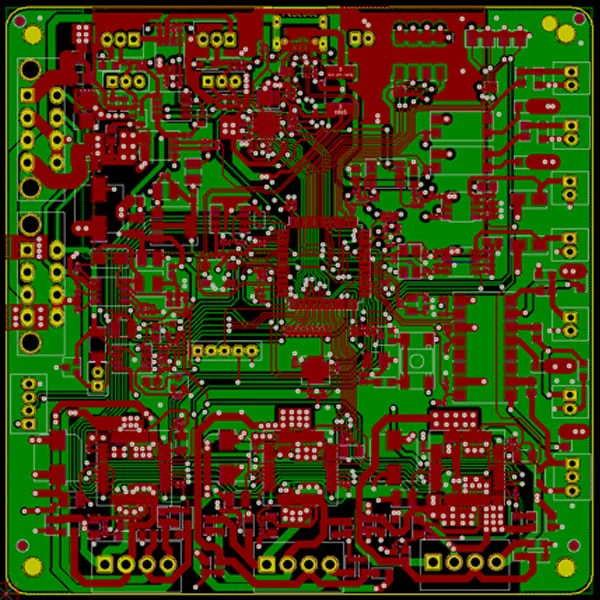
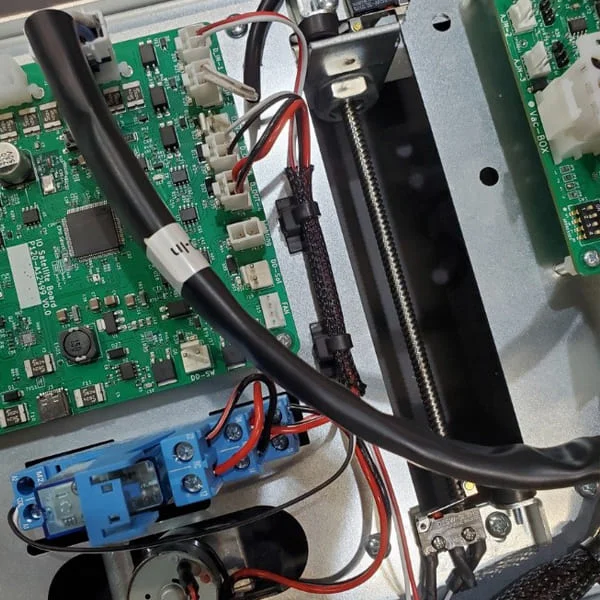
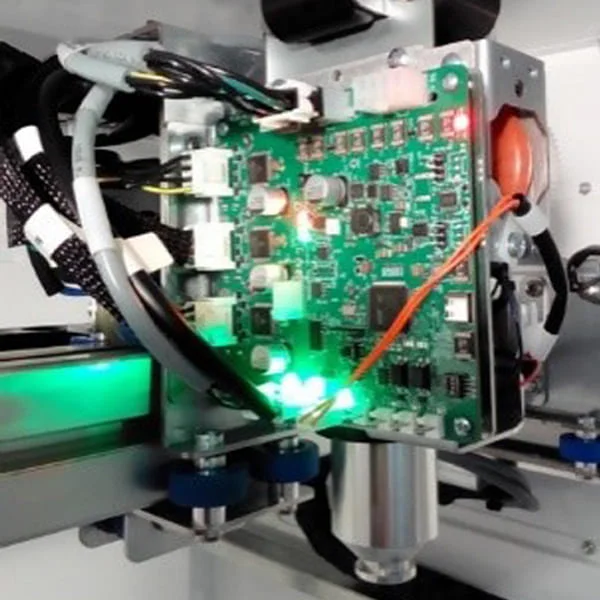
PCB Prototyping And Testing

When it comes to printed circuit board (PCB) prototyping and testing, there are a few basics that every engineer should know. First and foremost, it is important to have a clear understanding of the design before starting the prototyping process. This means having a complete and accurate schematic diagram as well as a bill of materials (BOM). Once the prototype is built, it is essential to test it thoroughly to ensure that it meets all the requirements of the design. This includes functional testing, as well as electrical testing to check for shorts, leaks, and other potential problems. There are a few different ways to test a PCB prototype, but one of the most common is to use a multimeter. This will allow you to check for continuity and voltage levels, as well as to test for shorts and leaks. It is also a good idea to use an oscilloscope to check the signal integrity of the prototype. By testing the prototype thoroughly at each stage of development, you can be sure that it will meet the requirements of the final design.
When to choose PCB Prototyping & Testing
There are a few things to consider when deciding when to do PCB prototyping and testing. The first thing to consider is the complexity of your design. If your design is complex, it may take longer to test and prototype. You’ll also want to consider the time frame in which you need your product to be ready. If you’re on a tight timeline, you may need to do more testing to ensure that your product is ready for market. You’ll also want to consider the cost of prototyping and testing. If you’re working with a limited budget, you may need to do more testing to ensure that your product is ready for market.
